Whether it’s the weekend, the holidays or you’re just looking for simple at-home activity to entertain children, this craft activity is a good one to jot down.
Hear and Say’s Listening and Spoken Language Specialist, Katie Smith runs the Brisbane LEAP Group Social Skills program, and also holds the important title around the centre as the ‘Queen of Craft’. Check out Katie’s step-by-step guide below for a colourful rainbow craft activity that’s both fun and educational.
“There are plenty of learning goals that work well with this activity. As you’re making your rainbow, talk about colours or textures, for example: ‘This yellow card is smooth, this glue is sticky’. Sequencing language is also great to incorporate, using words like first, second, next and last. You could also use prepositions like under, through or over,” said Katie.
Let’s make a rainbow!
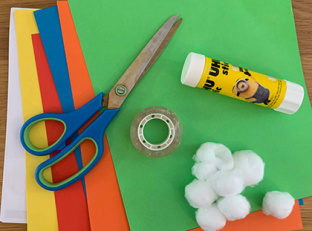
You’ll need: white cardboard, coloured paper, scissors, sticky tape, glue, cotton balls
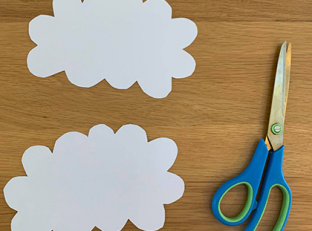
Step 1: Cut out two clouds from the white cardboard.
Step 2: Cut out equal-sized strips from your coloured paper, about 20 – 30cm long.
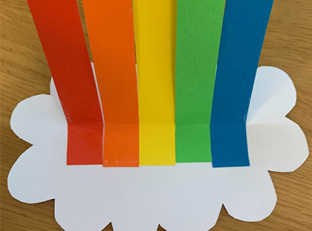
Step 3: Fold up both ends of each strip of coloured paper.
Tip: It can help to use sticky tape to keep the underside of your strips together.
Step 4: Put glue on the folded ends of your paper strips and stick them to one of your clouds.
Step 5: Repeat step four so that you stick the other end of your paper strips to your second cloud.
Step 6: Bring your clouds together and use a piece of sticky tape to hold them in place. This will give you a nice bendy rainbow bridge.
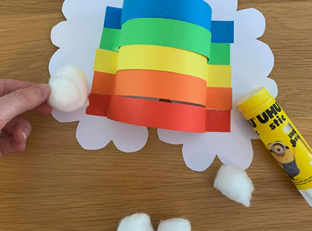
Step 7: Use glue to stick the cotton balls onto your clouds.
Step 8: You now have a rainbow bridge, perfect for imaginative play!
